Garrattfan's Modelrailroading Pages
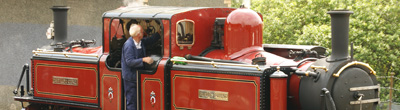
Fairlie Merddin Emrys
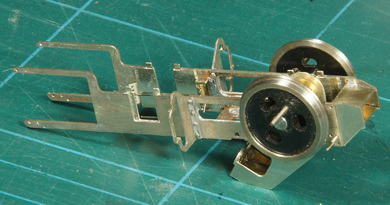
5.7 Second power bogie
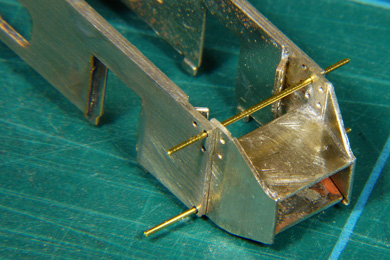
Building the second power bogie is no different from the first one. Both units are identical so there are no considerations for front or rear units as is the case with Garratts. So I originally did not intend to write a page about the second unit. But in practise you learn. So this page is intended to show in particular what went differently despite both units being identical.
|
|
CrossheadacheOne thing that went different was preparing the crossheads. I ran into trouble and I will not hide my stupidity nor want to miss an opportunity to show how to overcome this blunder. When I started preparing the crossheads I sought out the two bolts that needed to go through the connecting rod's little end and the crosshead. The bolt did not fit through the crosshead straightaway so I assumed it needed a little reaming. I should have checked and rechecked. I did not and I confidently started reaming the crosshead's hole. One reamer was not enough. I should have been alarmed by now as the kit always goes together well. If parts do not fit, you are in the wrong. But I happily took a larger reamer out and continued. Only when I first fitted the bolt through the second crosshead, yes only then, I first wondered if I had needed to ream so much on the first unit. I took the first unit apart and concluded I had picked the wrong, too large, bolt! |
|
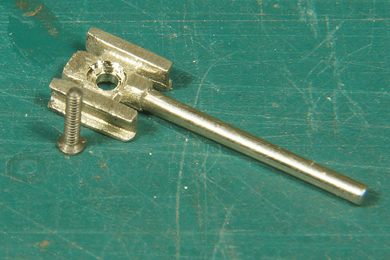 |
Now there I was with a hole in two crossheads which would cause a sloppy performance. Now what? I good night's sleep led me to the idea of fitting bushes. |
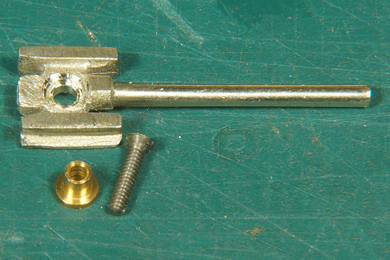 |
From previous projects I had a supply of spare top hat bushes because experience had taught me that small parts have a tendency to make themselves scarce when they escape from my pliers or tweezers.
|
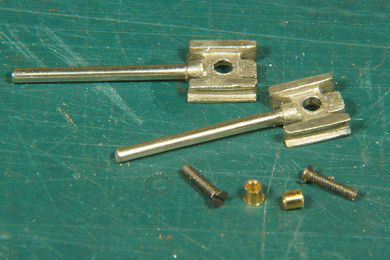 |
I put two top hat bushes in my vise, taking care not to overtighten the vise and so distorting the roundness of the bushes. I filed off the protruding rim. |
 |
I placed the bushes in the crossheads and soldered them into place. The bushes were then filed flush on the crosshead face on both sides. Fiddly work but it needs to be done. |
 |
I cleaned the bushes with a quick pass of a reamer and the correct, smaller bolts had a perfect fit with practically no play.
So getting a big hole in the crossheads was downright stupid, the recovery though ingenious, if I may say so myself.
|
Fitting the gearboxWhen building the second power bogie I deviated from the manual when offering up the gearbox the mainframe. |
|
 |
First I will describe the way of working on the first bogie.
While assembling the mainframe of the bogie the rear frame stretcher was added to the frame as per instruction [12]. On the photo it is postioned with pins but it is immediately thereafter soldered in place. |
 |
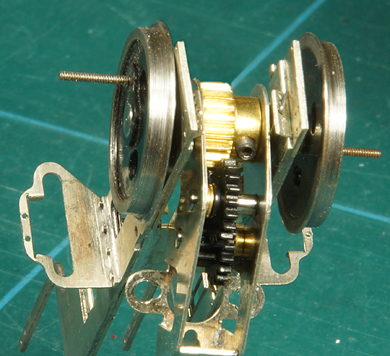
During final assembly the gearbox is lowered between the frameplates without the axle. The axle is added once the gearbox is in place and then the wheels are added.
This has the distinct setback that the wheels cannot be quartered in a quarterer because there is simply too much clutter in the way. |
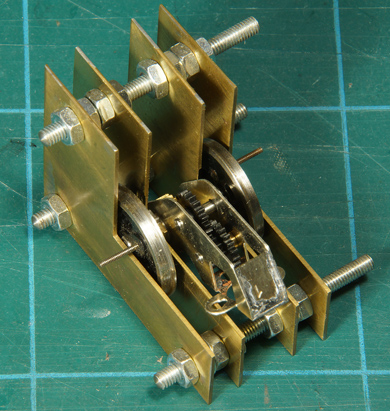 |
The alternative way of working is keeping the rear end of the frame open.
Build the gearbox as per the instructions, add the axle and mount the wheels. The gearbox with its wheelset fits in the quarterer. Quarter the wheels. |
|
|
 |
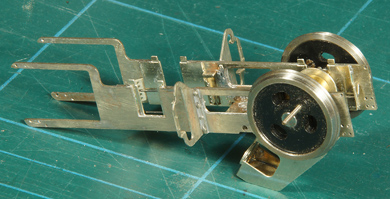
The gearbox assembly can now just be move in between the frameplates from the rear. Make sure though that the orientation of the gearbox is correct (the mounting plate for the motor facing forward).
|
 |
|
Finally the rear frame stretcher is inserted and fixed with pins and then soldered. Getting all four pins into place is a bit more fiddly but it is doable.
|
|
After thinking over this procedure it dawned on me that there as another method that very closely follows the manual.
This procedure has one precondition: from the moment you mark the wheels, they are handed so you must at all times carefully keep the right wheel to the right side of the axle and the left wheel to the left side of the axle. |
|


Sign my
GuestBook